Tuesday, November 16, 2010

In Progress all the way to Almost Completed


The Halla seen in the last post had some serious cosmetic surgery. The tail was a nearly 5 hour removal process with the dremel, but that time includes the detail work reshaping the leg. The pictures below show the progress of the tail removal from about one hour in, to near completed. After the last picture was taken, he had some very small divots that the dremel created filled back in, and was sanded, and overall just smoothed out. He is now finished.


This last picture shows the carving out and shaping of the ears and nostrils. 


The next project is a Ruffian and Smarty Jones from the same owner as the Halla, tail repairs, and general prep.

Wednesday, November 3, 2010

Next Project....Coming Up!


Tail to be removed, general clean up, and some drilling needs done. This is now a 'rush' order.

Friday, October 22, 2010

Completed


Nati'ah is finished, save for a tiny, tiny touch up with the primer on that white spot on her nose. She is headed this weekend to a painter that lives here in AZ as well. I can't wait to see her after she gets painted!

Friday, September 24, 2010

Quiet, but not Idle

NO, Idle would NOT be the word. Not with 7 Clients' Boxes of model horses here to be prepped. Idle is the LAST thing I've been lately. However the down side is that with all the work to be done here, doesn't leave much time for playing on the net! 


I've decided to work in batches. Batches of horses that need similar work done. All ear repairs/rebuilds for instance. All the seams will be done at the same time. Etc. I am hoping that this method will speed up the process for me!


So, while I have model horses sitting in Oven Cleaner Baths, others awaiting seam clean up. and yet others awaiting a final sanding before that primer spray, everyone out there can rest easy knowing your models are in good hands. :)

Thursday, September 9, 2010

Website!

faraetaildreamsart.yolasite.com

Things are definitely picking up on the prepping side of things. I am now prepping several bodies to be painted by various artists for show donations; one model is being sent from Austrailia that will be a moderate custom job; and a few others that are just basic cleaner'up's! 


My Girl Scout Troop is also starting to get rockin and rollin a bit - can't wait for that to get really going either. 


https://sites.google.com/site/desertcove560/

Don't have any new pictures to post, I figured out what to put on the dragon's wings, just haven't gotten 'round to it yet as my personal projects are now taking a back seat to the prepping jobs I have to finish. 


Soon though, hopefully I'll be able to continue him, there are some neat shows coming up in the next year that he might do well in! 

Friday, August 20, 2010

WIP Shire Drafter Dragon CM: We Have Wings! Part 2


Last nights progress. 

The wings got bulked out with Amazing Sculpt, and then I had the thought to create a thin 'membrane' to sculpt the actual wings over but wasn't sure how to do it. Some digging around in my sculpting box uncovered a brand new package of cheesecloth, so it got picked for the job. 

My hope was that I could squish it into the under bones of the wings, and when the Amazing Sculpt dried, it would be permanently affixed. Which is mostly what it did. About halfway through the curing process I tested it in a corner and found that it was sticking, but with enough force, would lift up. 

So I grabbed my super glue, and ran a thin small line of glue down the long, main bone on each side. That did the final trick, and now that cheesecloth isn't going anywhere. 

Now, I need to figure out what to put over the cheese cloth to make it look even more wing like. I was originally thinking more Amazing Sculpt, but a quick test on that last night proved that it won't stick to the cheese cloth very well at all. Initially it would, but when I started the attempt to smooth it out, it lifted right up. 

So, now I'm thinking maybe liquid latex or something of the sort. I'll have to search around some and see whats out there to use. 

Wednesday, August 18, 2010

WIP Shire Drafter Dragon CM: We Have Wings!


Or the start of them, that is.  

This is how the Shire Drafter looked last time I posted his update. 


He's been bulked out a bit more, got his head back, 
found a tail, and the start of the wings.


The wings are nearly 10 inches long on the top side. I wanted them stretched out, but they would make the sculpt almost *too* big, so I am going to fold them in some. 

Plus, why would he be walking with wings completely outstretched? Halfway to fully folded  would be more realistic, plus the way the tail ended up curled up to the side like that, that side almost needs to be folded up because the tail gets in the way. 


The picture I had in my head of the tail was of a wing-like appendage on the very end of the tail, kind of like a rudder, but it ended up being more of a peace symbol? 

I'm sure once I fill it in it will look more like what I envisioned. 


The tail, in progress. It needs more bulking out, but I am not sure what I'm going to do with the back yet, and what kind of scales I want. 

I am using a combination of Amazing Sculpt and Creative Paperclay for him. The majority of the bulking out is being done with the paperclay. The fine details, and anything that needs to be stronger, is being done in Amazing Sculpt. The fork in the tail, the bond between the head and neck, and a few other places are Amazing Sculpt. The rest is the paperclay. 

The wing bones will be Amazing Sculpt, and for the wing itself? I'm actually thinking of using cheesecloth glued to the wire before covering it with the A.S, but then I would have to sculpt the bones on the top and bottom separately - not sure If I want to do that. 


His head doesn't 'fit' the rest of him just yet, haha. He looks sweet and kind, and still rather horse-like with his old head. If you look closely under his ear  you'll see a small hole, thats where the horns will be placed, eventually. The entire head will end up covered and re-sculpted as well, but I didn't want to do it off of the body because I needed a sense of scale and appropriate size. 

Wednesday, August 11, 2010

Current Projects

Repaint commissions on these two horses from the same owner.

The Before's:

BHR Arab stallion, ordered in bay, CM'd to a Pintaban. 


Pyt Friesian Stallion, Blue Roan. 


Originally they were just supposed to be repaints, but the Arab broke three legs in shipping, and Pyt broke his tail off, so some repairs will be in order after they finish getting their paint stripped. 

Both of these are Artist's Choice for the new paint colors - I can't decide what I want to do yet. They are owned by a non-showing home, so I have more freedom to pretty much paint them however I like - whether or not the color is breed appropriate. 

I know Pyt is a Friesian mold, but straight black seems rather boring on him. Especially since there are multiple others that are done in black too. He could also pass as an Andalusian or PRE - thats what I thought he was when I first unpacked him but Freisian he is. I'm thinking a soft smutty buckskin on him would be delicious, but I have to do more reference picture research first. 

As for the BRH Arab - gosh he's an open book. I've seen them painted in all sorts of gorgeous colors. So, dunno on him yet. 


Oh the carnage!

Friday, July 9, 2010

Amber CM Up for sale


This Traditional sized Amber has had the tail and mane removed and redone. The ear was repositioned to be listening behind him, in the same direction that his head and neck was repositioned to. She was re-gendered into a HE, and is now a COLT. 

I added some other details such as roughing in the frog on the hooves, reshaped the hooves some, added detail to the nose, re-sculpted the left nostril, added hair detail to the inside of the ears, and other basic prep work such as seam removal and sanding to a mirror smooth finish. He has been primed in white, and is ready to paint. 

Click here for the pictorial step by step for pictures of the CM in progress.

CM Amber In Progress

The box of bodies I bought off of the MH$B arrived a few days ago, and I dove right in. 

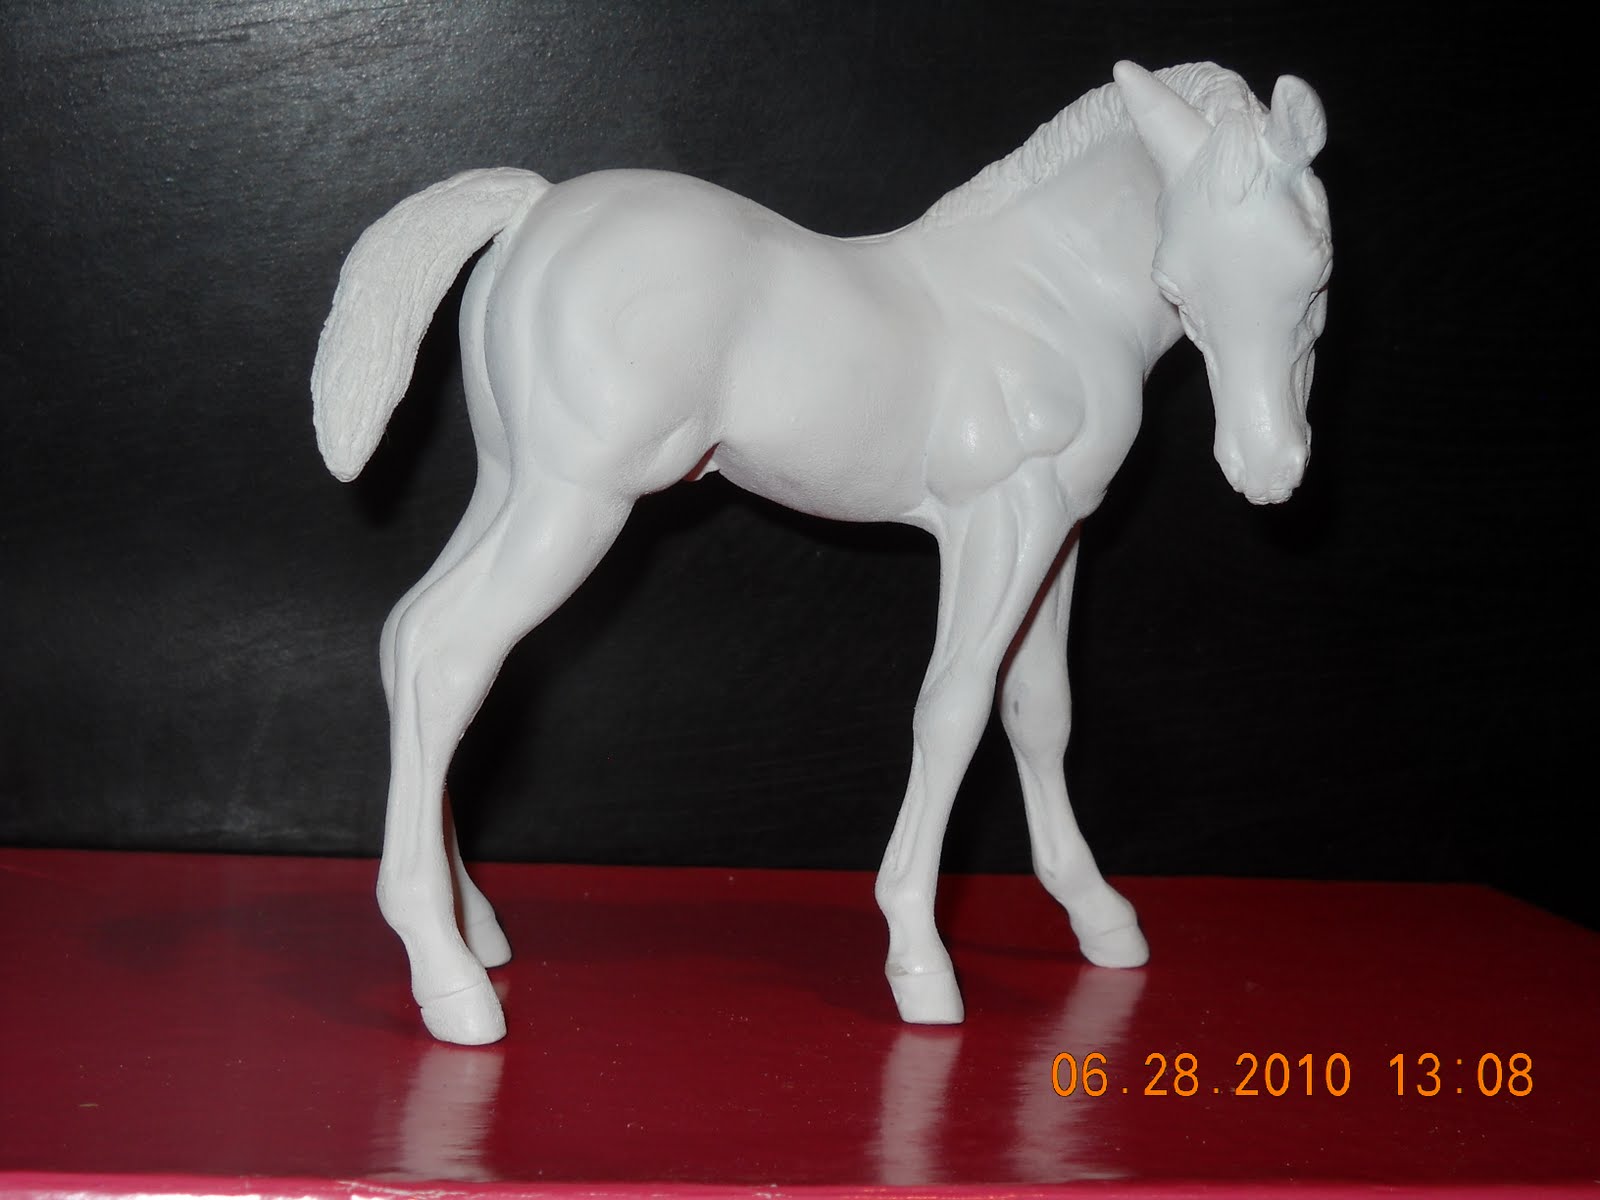
This is the Amber stock horse foal mold. Traditional sized.

I got her in the lot nearly original, just missing her head. She had some notes written on her from Grace (the lady I purchased her from in the lot), but was pretty much the way you see her here. 

This was my very first venture into Customizing Breyers. I had NO idea what I was doing, but with some helpful guides, and lots of reading online, I think I managed to do Ok.
I removed her tail, and cut some more slits in her neck. After I cut the slits, I took a (KIDS DON'T TRY THIS AT HOME) long handled lighter, and pretty much set her neck on fire. I *know* you are supposed to heat them with a heat gun or other forms of non-flame heat, but it was all I had at the time, since I have to do this outside. Thats her head there by my fingers.

While the neck was hot, I moved it a little bit more off to the side, so she'd be looking almost all the way behind her. While I was at it, I needed to reposition that right ear, so off it went.

I'll interrupt here and mention that when its recommended to wear eye protection when Dremeling - do it. Those tiny little chips of plastic that fly off are not only hot, but they sure HURT when they hit your eyeball! (And yes, I now have my very own pair of safety goggles.)
So this is what the neck looked like after some Amazing Sculpt from Unbridled, Inc. (Its in the background for the unintentional product placement lol.)
Next we have a tail, and the hint of a crease down her back.
I should also mention that I cut off the original mane too.

That head was a devil to put back on. Nothing I did would keep it in place - finally I took a piece of foil and folded it so it would fit snugly into both the hollow head and neck areas, and super glued it that way. The problem was it kept slipping no matter how long I held the head in place with whatever bonding agent. Lesson learned there! Once the quick set glue cured, I was able to go back in and fill with the Amazing Sculpt. Added a tail and a mane, and reattached the ear/filled in the hole where the ear was. I turned the ear just slightly more backward.
And she becomes a he! I also added some detail to the bottom of the hooves, but don't laugh - it was my first time sculpting frogs, and while they are passable, I wouldn't consider them perfect by any means. :) I also fixed ear tips, re-sculpted the muzzle, and touched up a few tiny other spots.
And the finished colt! Lots and lots and lots of sanding later - literally 4 hours worth Sunday afternoon with 2 redbox movies. Every cranny, bump, possible pockmark, everything I could see and some I couldn't. Several (lost count at 10) thin coats of primer to cover all those leftover brown spots also. I followed Danielle Feldman's Art of Prepping DVD as closely as I could, scrubbing with Comet and sanding carefully in-between coats of primer. 


I sanded about another hour after these were taken, so the few areas where it looks to be a bit rough, aren't so much anymore. I also see now that the front leg is slightly bent more forward at the knee than would be ideal, but that would take more work to strip, fix, and re-prime and I'm not so sure I want to go that route.

I am debating on whether to try my hand at painting or try to sell as is. If I paint, I see a splash black and white paint pattern - but for the first time out, I'm not so sure about the complexities of that.