Wednesday, August 18, 2010

WIP Shire Drafter Dragon CM: We Have Wings!


Or the start of them, that is.  

This is how the Shire Drafter looked last time I posted his update. 


He's been bulked out a bit more, got his head back, 
found a tail, and the start of the wings.


The wings are nearly 10 inches long on the top side. I wanted them stretched out, but they would make the sculpt almost *too* big, so I am going to fold them in some. 

Plus, why would he be walking with wings completely outstretched? Halfway to fully folded  would be more realistic, plus the way the tail ended up curled up to the side like that, that side almost needs to be folded up because the tail gets in the way. 


The picture I had in my head of the tail was of a wing-like appendage on the very end of the tail, kind of like a rudder, but it ended up being more of a peace symbol? 

I'm sure once I fill it in it will look more like what I envisioned. 


The tail, in progress. It needs more bulking out, but I am not sure what I'm going to do with the back yet, and what kind of scales I want. 

I am using a combination of Amazing Sculpt and Creative Paperclay for him. The majority of the bulking out is being done with the paperclay. The fine details, and anything that needs to be stronger, is being done in Amazing Sculpt. The fork in the tail, the bond between the head and neck, and a few other places are Amazing Sculpt. The rest is the paperclay. 

The wing bones will be Amazing Sculpt, and for the wing itself? I'm actually thinking of using cheesecloth glued to the wire before covering it with the A.S, but then I would have to sculpt the bones on the top and bottom separately - not sure If I want to do that. 


His head doesn't 'fit' the rest of him just yet, haha. He looks sweet and kind, and still rather horse-like with his old head. If you look closely under his ear  you'll see a small hole, thats where the horns will be placed, eventually. The entire head will end up covered and re-sculpted as well, but I didn't want to do it off of the body because I needed a sense of scale and appropriate size. 

Wednesday, August 11, 2010

Current Projects

Repaint commissions on these two horses from the same owner.

The Before's:

BHR Arab stallion, ordered in bay, CM'd to a Pintaban. 


Pyt Friesian Stallion, Blue Roan. 


Originally they were just supposed to be repaints, but the Arab broke three legs in shipping, and Pyt broke his tail off, so some repairs will be in order after they finish getting their paint stripped. 

Both of these are Artist's Choice for the new paint colors - I can't decide what I want to do yet. They are owned by a non-showing home, so I have more freedom to pretty much paint them however I like - whether or not the color is breed appropriate. 

I know Pyt is a Friesian mold, but straight black seems rather boring on him. Especially since there are multiple others that are done in black too. He could also pass as an Andalusian or PRE - thats what I thought he was when I first unpacked him but Freisian he is. I'm thinking a soft smutty buckskin on him would be delicious, but I have to do more reference picture research first. 

As for the BRH Arab - gosh he's an open book. I've seen them painted in all sorts of gorgeous colors. So, dunno on him yet. 


Oh the carnage!

Friday, July 9, 2010

Amber CM Up for sale


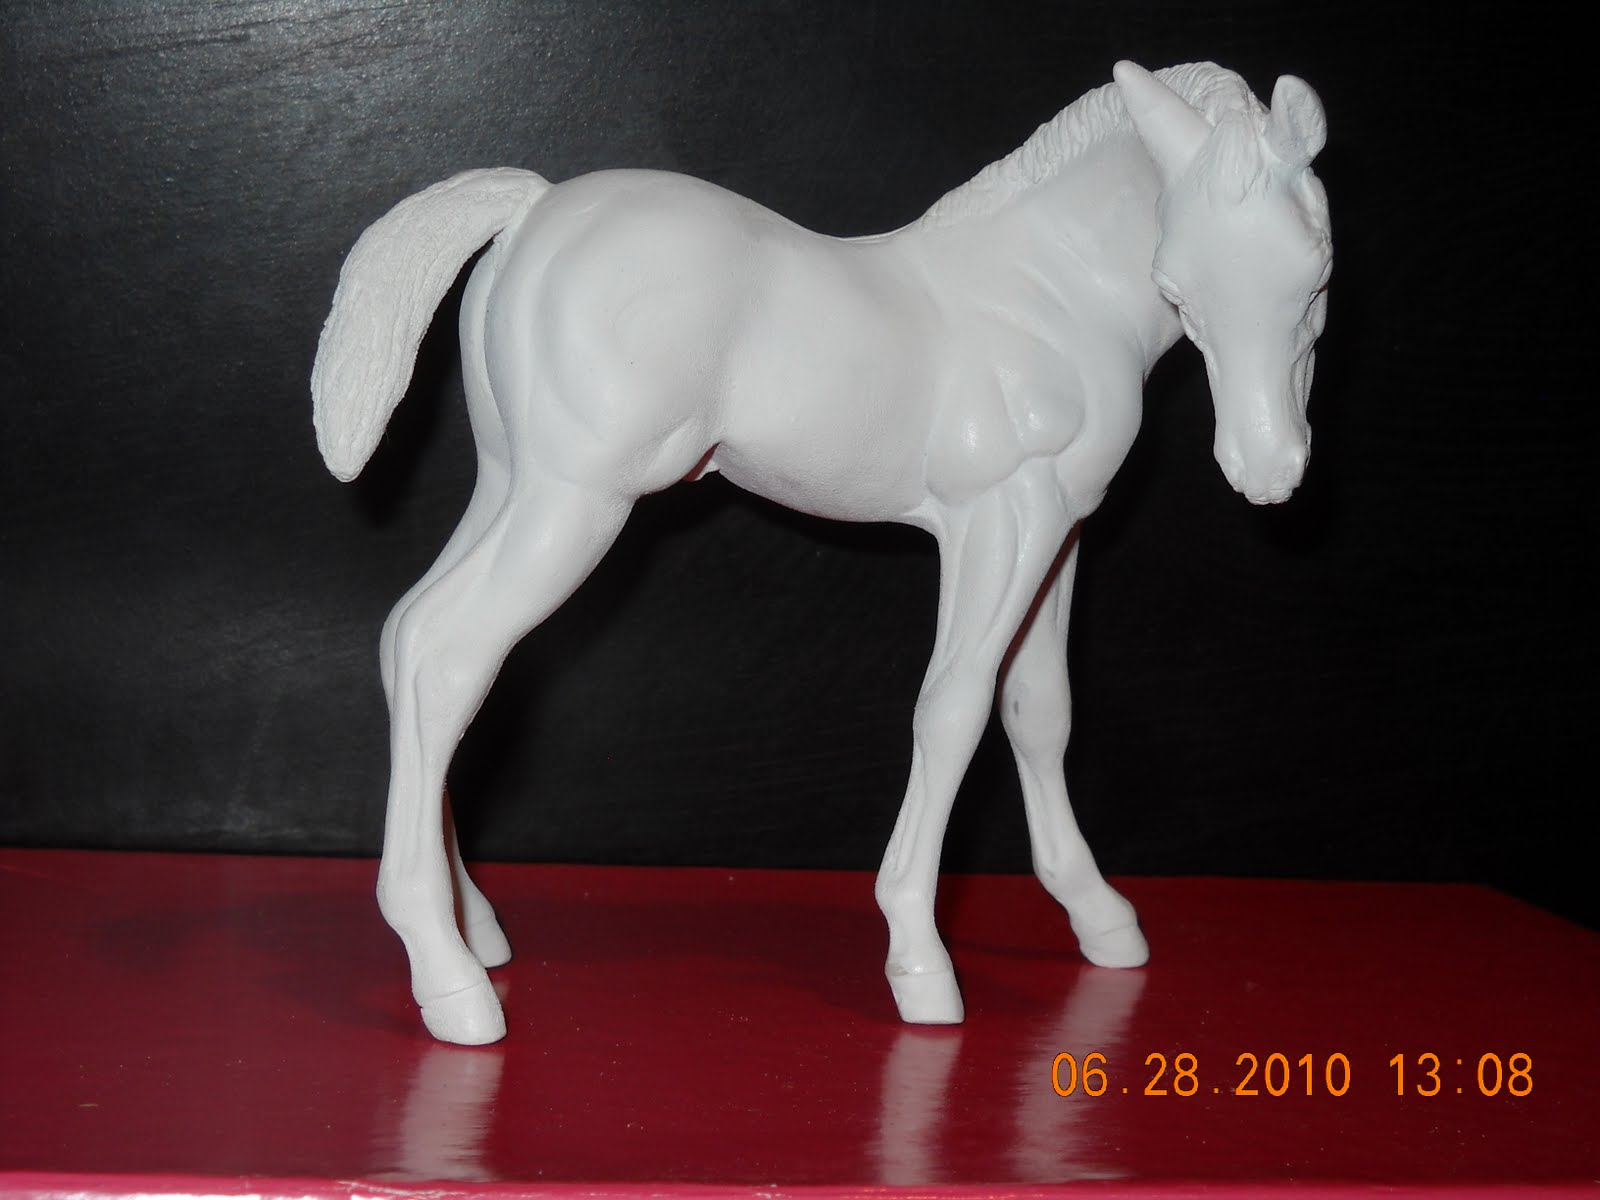
This Traditional sized Amber has had the tail and mane removed and redone. The ear was repositioned to be listening behind him, in the same direction that his head and neck was repositioned to. She was re-gendered into a HE, and is now a COLT. 

I added some other details such as roughing in the frog on the hooves, reshaped the hooves some, added detail to the nose, re-sculpted the left nostril, added hair detail to the inside of the ears, and other basic prep work such as seam removal and sanding to a mirror smooth finish. He has been primed in white, and is ready to paint. 

Click here for the pictorial step by step for pictures of the CM in progress.

CM Amber In Progress

The box of bodies I bought off of the MH$B arrived a few days ago, and I dove right in. 

This is the Amber stock horse foal mold. Traditional sized.

I got her in the lot nearly original, just missing her head. She had some notes written on her from Grace (the lady I purchased her from in the lot), but was pretty much the way you see her here. 

This was my very first venture into Customizing Breyers. I had NO idea what I was doing, but with some helpful guides, and lots of reading online, I think I managed to do Ok.
I removed her tail, and cut some more slits in her neck. After I cut the slits, I took a (KIDS DON'T TRY THIS AT HOME) long handled lighter, and pretty much set her neck on fire. I *know* you are supposed to heat them with a heat gun or other forms of non-flame heat, but it was all I had at the time, since I have to do this outside. Thats her head there by my fingers.

While the neck was hot, I moved it a little bit more off to the side, so she'd be looking almost all the way behind her. While I was at it, I needed to reposition that right ear, so off it went.

I'll interrupt here and mention that when its recommended to wear eye protection when Dremeling - do it. Those tiny little chips of plastic that fly off are not only hot, but they sure HURT when they hit your eyeball! (And yes, I now have my very own pair of safety goggles.)
So this is what the neck looked like after some Amazing Sculpt from Unbridled, Inc. (Its in the background for the unintentional product placement lol.)
Next we have a tail, and the hint of a crease down her back.
I should also mention that I cut off the original mane too.

That head was a devil to put back on. Nothing I did would keep it in place - finally I took a piece of foil and folded it so it would fit snugly into both the hollow head and neck areas, and super glued it that way. The problem was it kept slipping no matter how long I held the head in place with whatever bonding agent. Lesson learned there! Once the quick set glue cured, I was able to go back in and fill with the Amazing Sculpt. Added a tail and a mane, and reattached the ear/filled in the hole where the ear was. I turned the ear just slightly more backward.
And she becomes a he! I also added some detail to the bottom of the hooves, but don't laugh - it was my first time sculpting frogs, and while they are passable, I wouldn't consider them perfect by any means. :) I also fixed ear tips, re-sculpted the muzzle, and touched up a few tiny other spots.
And the finished colt! Lots and lots and lots of sanding later - literally 4 hours worth Sunday afternoon with 2 redbox movies. Every cranny, bump, possible pockmark, everything I could see and some I couldn't. Several (lost count at 10) thin coats of primer to cover all those leftover brown spots also. I followed Danielle Feldman's Art of Prepping DVD as closely as I could, scrubbing with Comet and sanding carefully in-between coats of primer. 


I sanded about another hour after these were taken, so the few areas where it looks to be a bit rough, aren't so much anymore. I also see now that the front leg is slightly bent more forward at the knee than would be ideal, but that would take more work to strip, fix, and re-prime and I'm not so sure I want to go that route.

I am debating on whether to try my hand at painting or try to sell as is. If I paint, I see a splash black and white paint pattern - but for the first time out, I'm not so sure about the complexities of that. 

Wednesday, July 7, 2010

WIP: Breyer 'Shire' Drastic CM

This is the current project. I am still debating on whether I want to paint the Amber CM or not, but for right now, this is what is at the forefront. 


He didn't come to me this way, actually he came to me stripped of his paint, his head, neck, tail, raised hind hoof, and raised front leg - all removed. I had the head and most of the 'missing' legs but I decided to use him as an experiment. 


This is more of what he looked like when he came to me. He's the one on the far left with the blue tape on him. 


Yep, I went even more Sweeny Todd on him lol. Chopped off his legs, You bet I did!


I do have an actual 'vision' for him, but I can guarantee its not what you all *think* its going to be. For stability, the wire for the tail is actually one very LONG wire that runs through his body and up into where the neck is, underneath the foil. (The foil was later removed and redone.) I could not figure out how to attach the wire for the tail, but one wire to connect both as the armature made more sense here. 


Yep, I shaved his head too. This is a great angle where you can see where I had to reattach the front leg.


Hmm, anyone wanna guess what its going to be yet?


I will help you out and say that It definitely will NOT be a horse. 


Tuesday, June 29, 2010

New Addition!

I've been invaded by a small white thing - fluffy and adorable. 

This is KohKoh. I think thats her name anyways. The kids change their mind every other second, but thats what they keep going back too. (Better than Muffins or Cupcake!)

Yes, the time on the picture is correct. See, a couple of days ago the boyfriend tells me to come outside to go see something. I'm up watching tv due to insomnia, and figured why the heck not. Cooler outside than inside anyways.

He grabs a small can of wet cat food, and sets it outside in our open carport. After a short wait, this is what comes scampering out from under his Dodge Truck.

We live in an area chock full with half feral and otherwise 'tame' cats that roam the neighborhood - kittens are fairly commonplace.

What is NOT commonplace is for one of those feral kittens to walk right up to a human as careless as you please and start asking for attention! Which, coincidently, is just about what this one did. 

We watch it demolish half of the small pop-top can and the Boyfriend wonders out loud if we can pick it up. I look at him, smirk, walk over to it, and scoop it right up, thank you very much. (I come from a LONG line of female cat-whisperers!). It doesn't fight, just settles right in, starts rubbing its tiny nose on my chin and neck, and starts purring as loudly as it can. 

Eya. 

I need another cat like I need another hole in the head. However, one little affectionate nose rub and that was it. Thats all it took. I was done in - hook, line, and sinker. 

The Princess on the Purple Pillow is here to stay, Methinks. KohKoh, meet the world. World, meet KohKoh.

Well, maybe after she wakes up.

Monday, June 21, 2010

Early Work

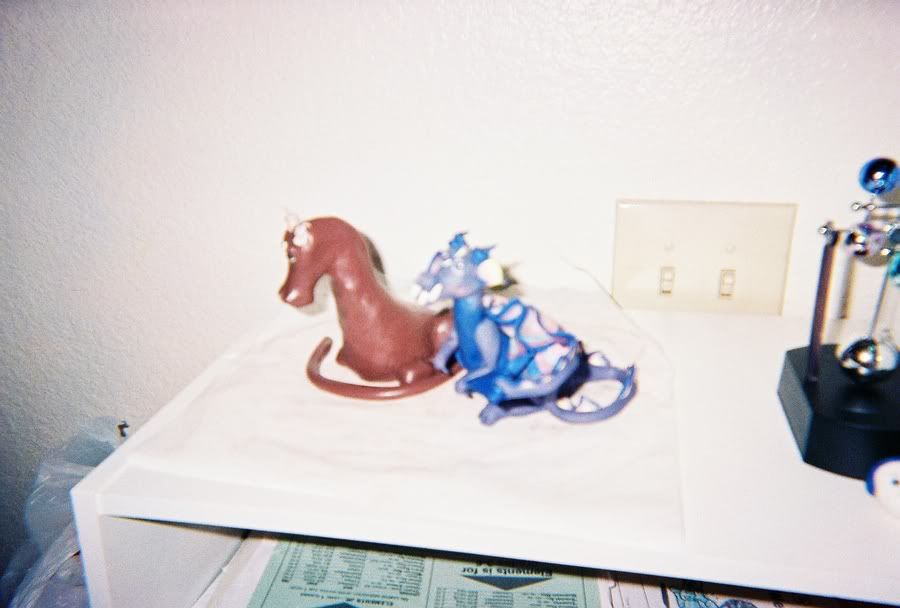
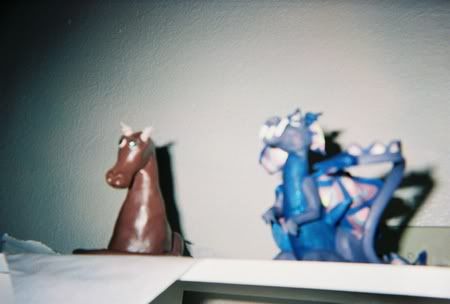
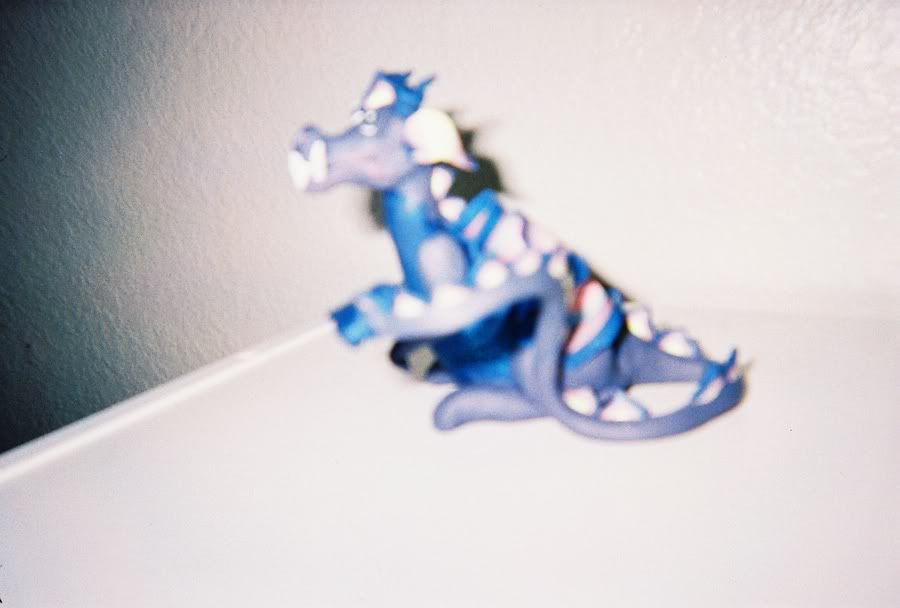
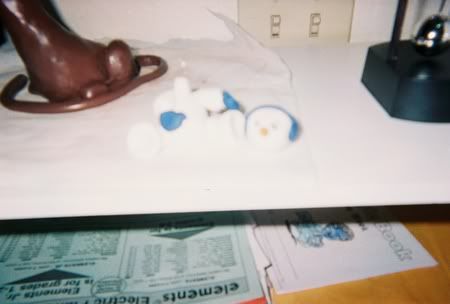
I apologize for the pictures here. I was using a very cheap, disposable, point and shoot camera and this is what came of it. I meant to go back and get better pictures, but I never did. 


Blue and Brown were created in 2006, I believe?


To the right, the brown blob, was supposed to be the 'brother' to the finished blue dragon. He never got finished, and shortly after these were taken, I had to move out of that apartment, and put some boxes in to storage. The box that held him somehow accidentally got put into storage, and when I finally found him some long, hot, months later, he was a giant mess, half baked, half cracked, smooshed in other places from the other items in the box - so he ended up being thrown away. 


The blue dragon with the rainbow scales and wings was my very first dragon. 

He taught me mostly what NOT to do with polymer clay in larger forms such as this. 

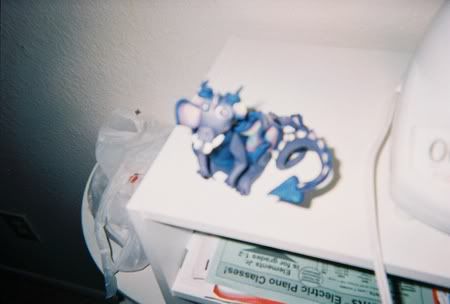
See, the book I was creating him from was meant for kids. I bought it because it had him in it. The major fatal flaw for Blue there was the instructions say to make his body solid. I was making him about 2-3 times larger than the scale in the book, so his body is solid clay. 


At the base of his tail, he's about 3 inches thick. Thats a lot of polymer clay to bake at one time. His tail is a lot thinner, as you can see here, and many of his other parts, the scales down his back, his teeth, his horns, are also a lot thinner. 


When I baked him, he was in the oven for about an hour. I know now that wasn't nearly long enough. If you look closely in that last picture, you'll see on his one side a large ear, but on the other, no ear at all. Thats because when you under bake polymer clay, it crumbles as it cools. The polymer is only half way bonded, leaving the finished piece weak and very fragile. 


Thats what happened to old Blue. 


He broke into about 15 pieces within a week after baking him. Tail snapped into thirds, all his scales came off, his teeth broke, he lost both arms, part of both legs, and finally, his head broke from his body. This was while he was sitting here on the shelf, next to my kitchen appliances, just like he was pictured here. This was his display spot, and after I took these pictures he just started crumbling apart. I couldn't fix him because the pieces that came off, just turned into smaller bits of crumbly clay.


RIP Blue. You had a short life, but you had friends while here.


Little pinky and Brown. I didn't make pinky. Don't remember where I got her though.

You can't see her face, but that was Ms. Witch. She had lime green hair that was formed by squishing the clay out of a clay gun extruder. Her hat and cape were made from black clay mixed with irridescent glitter for bling. She was given a pumpkin candy bucket, but the pumpkin burned while baking. Early mistakes are the ones you learn the most from. Was a lot of fun making her.


Again, hard to see the sparkles. But they are there. She has chipped some over the last few years, but is still intact.


Mr. Snowman there was still in progress. I finished him then sold him a few weeks later to one of my co-workers who collected snowmen. No idea if he's in one piece anymore or not. 


So this past week, after finally digging up the password to the photobucket account all the above images are stored in, I did some shopping, reading, thinking, and then more shopping. 

Rather disturbing picture, isn't it? I especially like the drafter that has a blue wire for a neck, and the pinto without the head. Well, they be mine, as soon as I can get off to the post office and mail out the money order for them.

Yes, I bought broken toys. On purpose.

What am I going to do with them, you ask? 

Ah, that will be for the NEXT blog post.

At the same time as I was looking at these from the MH$B , I also bought stuff to repair them. Amazing Apoxie Sculpt is also on its way, as well as a DVD I can NOT WAIT to get here, a Model Horse Prepping Instructional CD from Feldman Studios. There is also a booklet on how to make model horse halters and a traditional PAM coming from ebay too. 

I also got a new pasta machine from Sculpey, to replace the one I had that no longer had a crank handle (another reason for a year of no sculpting) for $13 at Joanns!

I also received the two books previously mentioned, and have already spent hours pouring over them, learning and memorizing. 

The Amazing Apoxie will not just be for repairing and rescuplting the bodies above, but it is also a sculpting medium in its own right, and I'm hoping that I can use it to create prototypes for lots of other things to be cast into resin. 

The baby steps are on their way - and progress is being made. I'm hoping to have some actual work done on the dragon and the bodies pictured above by mid July.